Saturday, July 23, 2011

2nd Annual LSRHS Tractor Show


I removed the valve cover on the Whitcomb's air compressor and found a damaged exhaust valve. This is why it is not making full pressure. There is a brake shoe on the PTO shaft to stop the drive shaft so that you can shift gears. I removed the brake shoe for relining. Ed and Jim from Conneaut Engine works brought a hit and miss engine to the tractor show.

Saturday, June 18, 2011

2011 Night at the Museum

The 3rd weekend of June The LSRHS was open 24 hours. A portable generator provided lights for the CSX mainline for night train watching. Chris Bohn showed up and we topped off the Whitcomb's new radiator. It didn't take much. The engine started and ran well. We could only get about 30 pounds of air pressure. The clutch would not disengage so we couldn't move the Whitcomb. Ray and Jim operated Ray's Nickel Plate Speeder

Monday, May 30, 2011

Memorial Day 2011


Ray moved the Whitcomb up by the station so that it would be closer to the water faucet. Sunday was the day of the LSRHS volunteer cook out and pot luck supper. The Whitcomb was to be filled with water and run. We filled the water Saturday morning but it had a pretty good leak where at a gasket joint. (not the radiators fault). I went to the hardware store and bought a needle that you use to inflate soccer balls. I attached that to a tube of silicone sealer and injected it into the joint. It took 24 hours to cure, so the Whitcomb did not run Sunday night. Monday morning we filled the radiator and it held water. I hooked up the radiator hoses and filled the engine with water. I ran the engine back and forth on the track by the station. The torque converter did not seem to be working just right and the engine was leaking oil but this is another step closer to being complete and running. 50 people attended the volunteer picnic. The temperature was in the 70’s and the food was ahhhhh awesome.

Monday, May 2, 2011


Hank and i went up to the museum in May and installed the fan, fan shroud. We started the enjine and it seemed to be running rich. I am thinking the float valves are sticking open or the fuel pump is pushing gas past them. The water was not on so we couldnt check the new radiator for leaks.
The Bessimer speeder is now at the Museum (photo)

Thursday, April 14, 2011

Radiator together


We had a blessed day Thursday. I picked the day because of good weather. I sent an info Email to Chris Bohn. He said he would be there. We met about 10 AM. I asked my brother Pete to help because I anticipated some heavy lifting. We unbolted the top tank and rolled it up on the hood. Chris made a bunch of measurements. We did not find any obstructions, it should fit. The edges of the hood were bent in blocking the radiator from going back under it. We used a 4 foot ajusta post to spread the edges of the hood. We put the top tank back in place. Chris used a tapered reamer to clear out the holes for the bolts. The radiator got straighter and straighter as we tightened the bolts. All the jacks and blocking came out and it is pretty much back together. Hank and I will test it with water when we get a chance.

Saturday, March 19, 2011

Radiator assembly

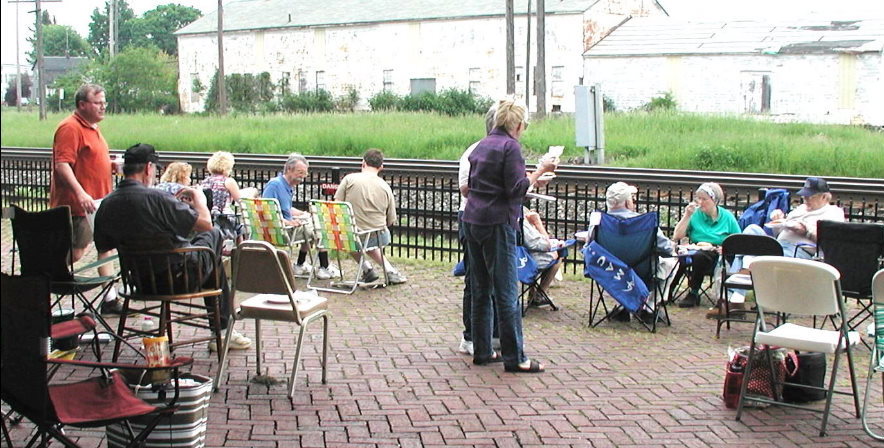
These are some of the great volunteers at the Saturday morning paper recycling at the Train museum. It was a cold windy 33 degree March morning in Norh East, Pennsylvania.

I got the new TitanX radiator core from the station. After removing one of the test tanks from the end of the core, I got a group of volunteers who were working on the gift shop in the station. We lifted the core up by hand and put it in place on the bottom tank.

While they went back to work, Charley and I put in some of the bolts that connect the core to the bottom tank. I removed the other test tank from the top and got the guys again to help with the top tank. We found that the top tank weighed more than the core and we needed to get the tractor with fork lift to get the top tank up to a level where Charles and I could move it over in place on top of the core.
When we got it in place it didn’t fit right. The radiator needs to be disassembled and a seam on the top and bottom of the core ground down and re-soldered then reassembled.

Sunday, February 27, 2011


Chris and the guys from TitanX finished building the radiator core. The sheet metal man at TitanX did a beautiful job of fabricating test tanks so that the core could be sealed up and air tested. Two small leaks were repaired and the core was ready for delivery. Ryan transported the radiator core up to the museum. Now Hank and I have to get up there and install it.